|
This page will attempt to show the changes made to the Dart throughout the winter.
We are making some fairly radical changes to the dart this winter, if we do them right most of them should go unnoticed. Visit the site frequently this winter to see the changes. The changes are relocating the springs 3" inward, mini-tubb the rear wheelwells, change the gears to 3:73, add 15x10 wheels with 295/50 tires, 68 Charger flip top gas cap and PAINT!! the Whole Car, plus any thing else that comes to mind while were doing this. My buddy Jon will be providing leadership and knowledge throughout this entire project. If your in the Hannibal area stop by and have a cold one with Jon and me in the warm "MANHOUSE" this winter.
|
|
|
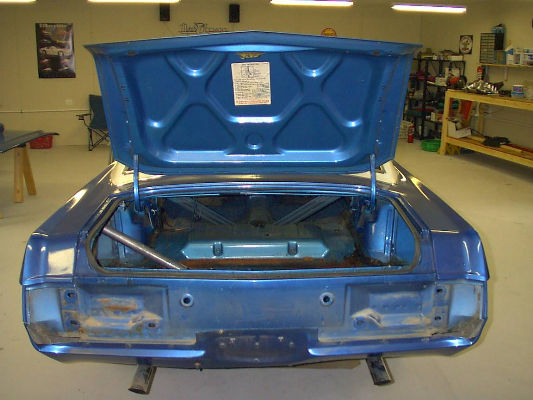
Tear Down Begins
I have started by removing the rear bumper, it is going to the chrome shop , stripping the trunk and getting ready to cut the inner fender wells for the mini tub |
Interior Shot
I removed all the interior necessary for the tubbing as well as door panels, carpet in rear, seats, etc so that when ready we can start on the paint job, painting all the necessary interior parts also. The headliner will be put in new in the spring. I haven't stripped everything yet but you get the picture!
|
|
|
|
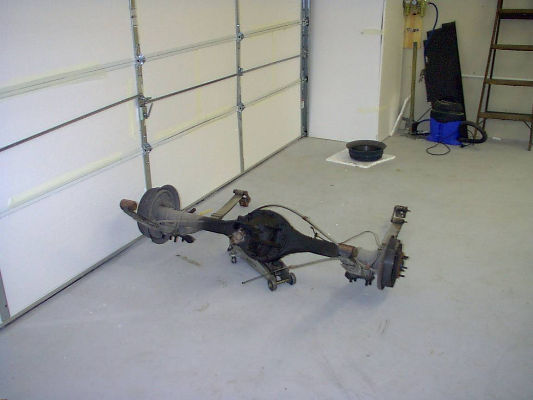
Rear end out!
We pulled the rear end and to my surprise I thought I had the 489 type rear end when actually I have the 741 type. Minor set back and a small change instead of 3.91 gears the steepest I can go now is 3.73. This will be more highway friendly though. |
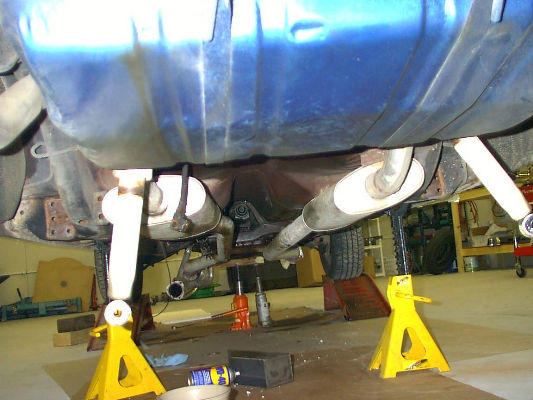
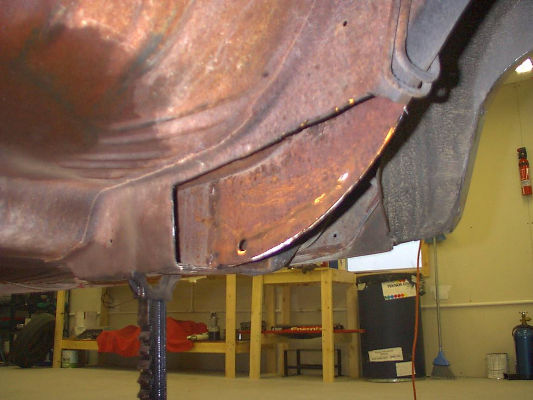
Without Rear End
This is just a veiw of under side before we cut the frame rails
|
|
|
|
Frame Rails Cut
Both rear frame rails have been cut out to allow for the relocation box to be welded in. When this part is complete we will move the rear springs in 3 inches. This will allow for the bigger tires that are coming. |
Another view of frame rails
|
|
|
|
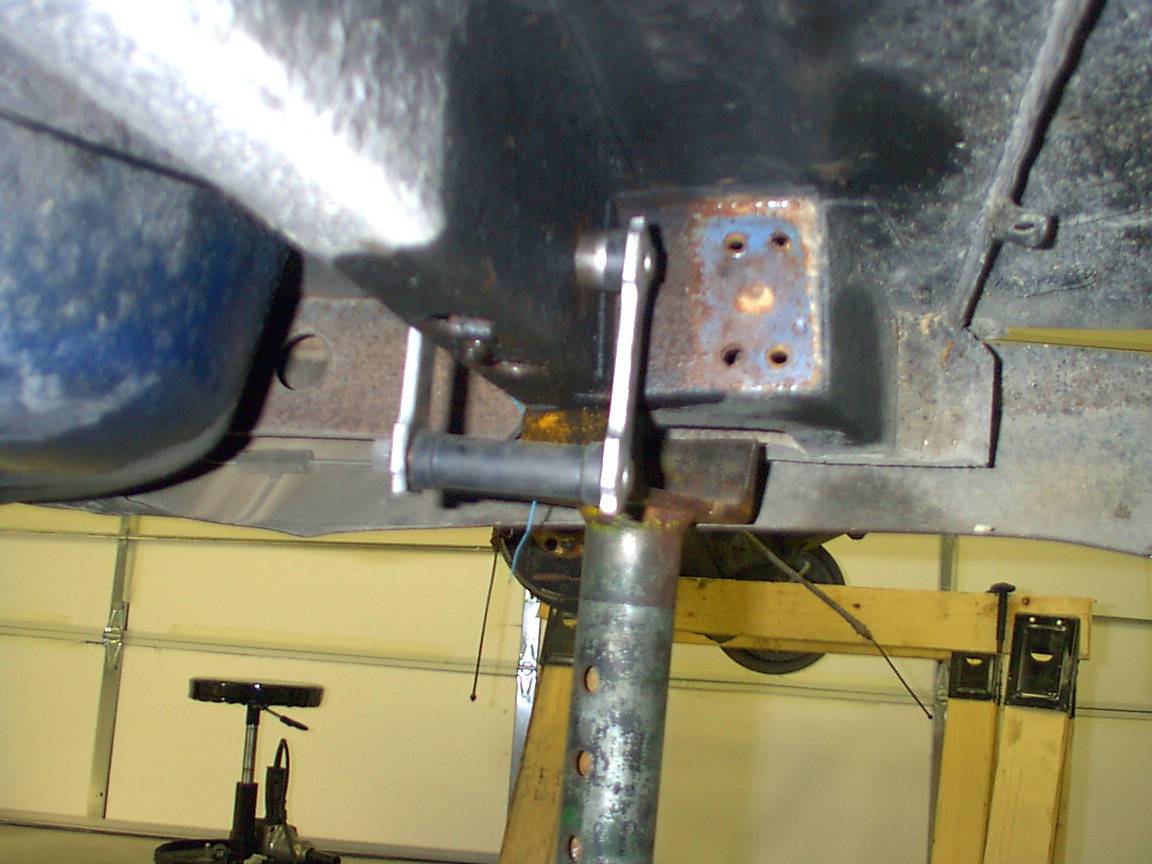
Rear Schakle in Frame
The rear schakles were originally to the left of the frame. Our chore was to drill a 1" hole in the frame where a 3/4" hole was already. We accomplished this with an engineered hole saw and now the welding begins to reinstall all we took out. |
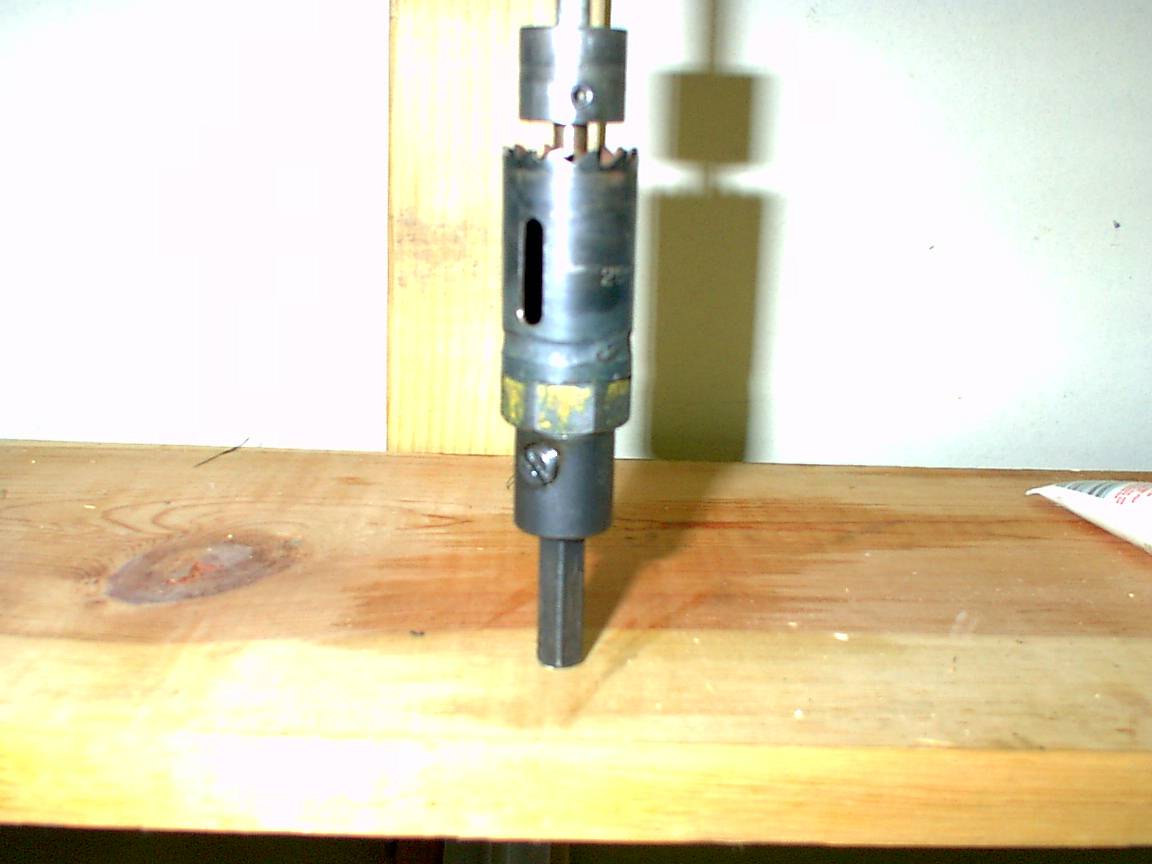
Engineered Hole Saw
This is a 1" hole saw we made using a straight smooth bit with a 3/4" adapter to fit the 1/4"smooth bit. Worked Great!!!
|
|
|
|
Widening the Wheel Wells
I have cut out the passenger side wheel well to begin the widening process. It will require me to cut out all excess metal to the frame , then re-weld everything back in the new location. Check back for finished well |
|
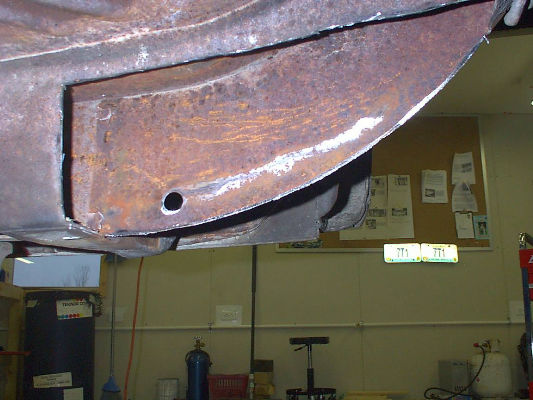
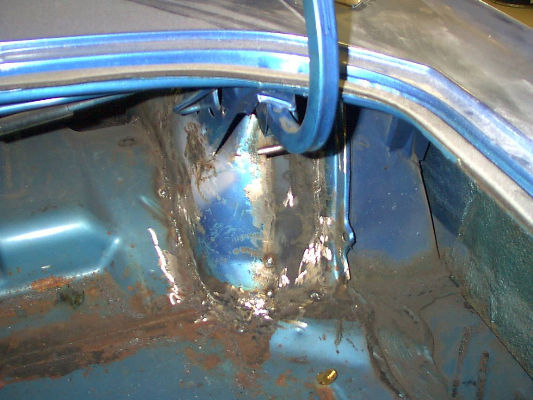
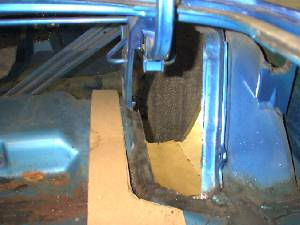
Completed Wheel Well
This is what both wheel wheel look like after widening then. They have benn moved to the frame rail which is about 3", then metal is welded in the opening. Once grinded a coating of sealer will be applied to the welds.
|
|